|
 Gettysburg: After an eariler flub, Humpherys redeems himself and holds the Union right, pushing McLaws back off the hill. Perhaps drawing the Confederates away fromt he support of theirguns was part of the defense after all. Courts martials proceedings may be a bit premature.
|
|
|
|
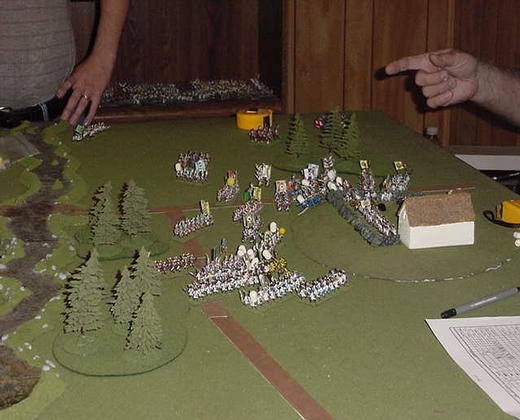
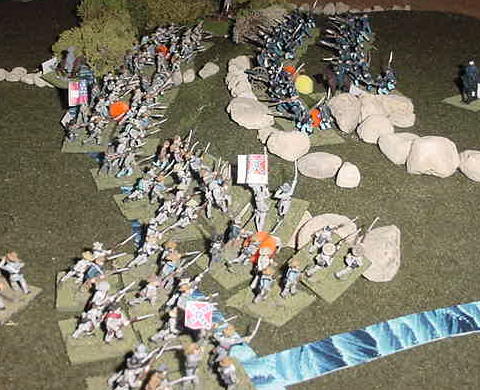 Hood's troops assault Devil's Den. Hood leads Anderson's brigade through the woods. Even with superior numbers the rebel are repelled with light loses. It was nearing dark, so Longstreet decided to call off the attack. Lee would understand. Beside Mclaws division had sustained over 2000 casualties and would need to reform before another attack could be executed and federal reinforcements were arriving.
|
Hood moved as fast as possible, but the battle was decided by the time the assault on Devil's Den had begun. The assault was repulsed on the first attempt. Hood was in position to sweep the heights of its Union inhabitants when Longstreet recall him. McLaws had been beaten back, there wasn't much daylight remaining and he was unwilling to kill any more of his boys. Good game and we all had a great time as usual. Would have been nice to have played another two tuns to see what happened. Devil's Den was shaping up to be a hornet's nest. We will definately be playing F&F again. I also want to try On To Richmond if I can find the website that I got the regimental version from. Anyone know of it?
|
|
Battle of Elchingen 1805? Well not exactly. We ended up doing the battle, but in the 18th century instead. Since no one knew the details of the battle anyway it worked out well as a disguised SYW scenario. The Prussians and Austrians were pretty evenly matched, which usually spells doom for the Austrians. To even things up the Prussians would be forcing a river crossing and would be without the bulk of their cavalry while they searched for another ford. The Austrians quickly took posession of a walled village atop a hill and sited their batteries on the Prussian columns.
|
|
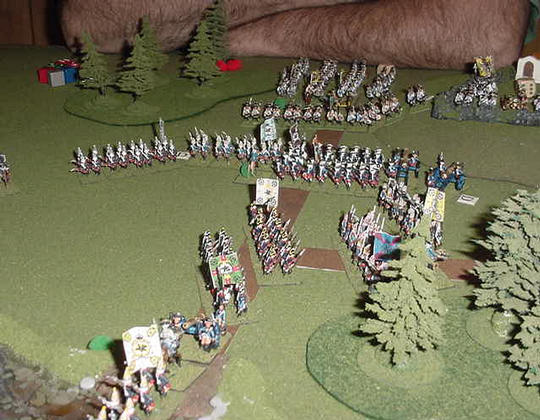 The Prussians withstand the Austrian guns and quickly deploy once over the river. The Hussars peel off to the left to protect the flank.
|
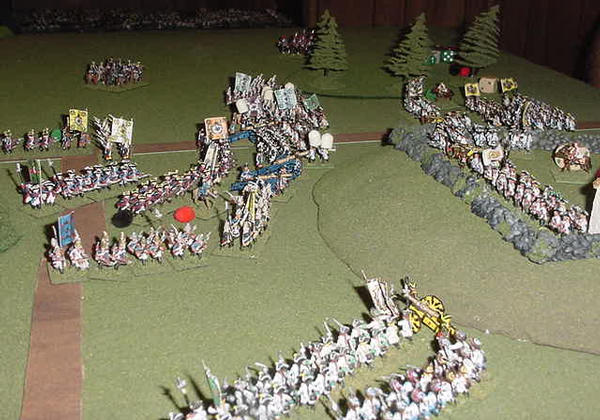 The Prussians begin the assault. The Austrians will try to turn the flank.
|
|
The rules used were Flint & Steel, which we have come to greatly enjoy. They are more detailed than some and difficult to learn at first, but seem to capture the feel and flavor of the period.
|
|
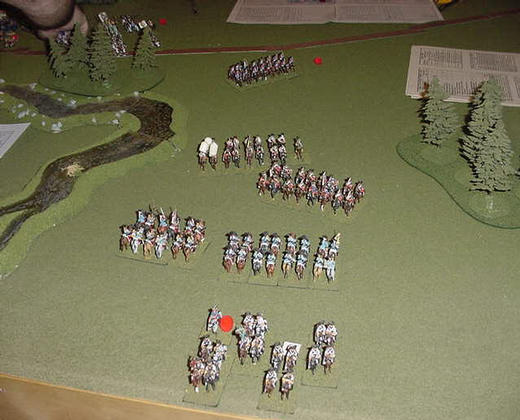 The Prussian cavalry make it into the fight. The cavarly battle was a separate affair which did not directly effect the outcome. The Prussians prove quite horrible and it was obvious to all that they were afraid of the big Austrian lads. They seemed to fail most charge rolls and turned and ran when charged only to rally again and repeat the process once more. Finally they ran out of table and fled the battlefield altogether.
|
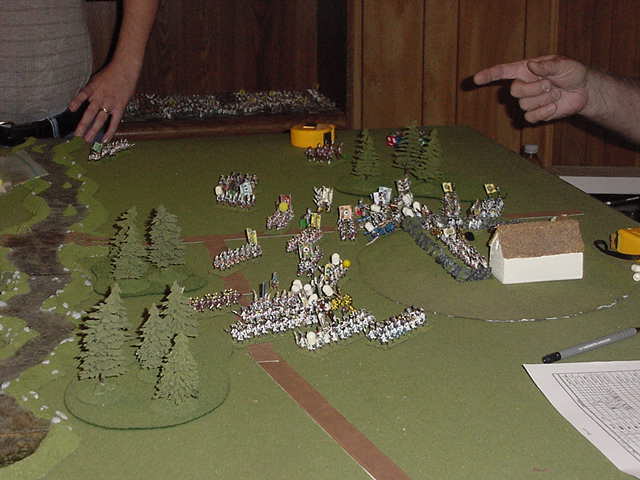
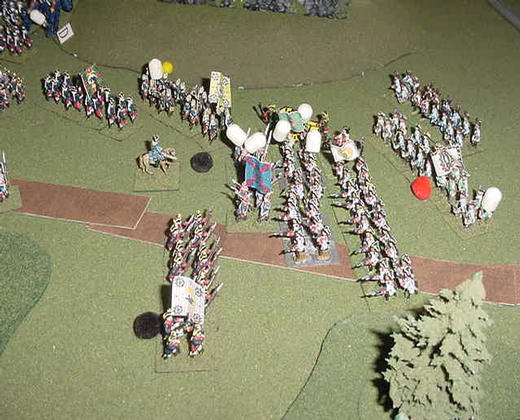
 Ed proncounces the "Finger of Doom" tactic on the Prussians. Would it be enough?
|
|
|
|
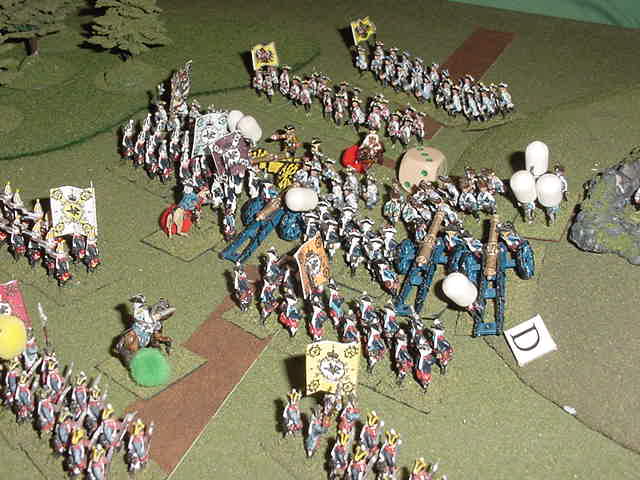
 Pressure on the Prussian right starts to mount. After holding up the Austrians for several turns the grenadiers start to break and leave a hole in the line's center.
|
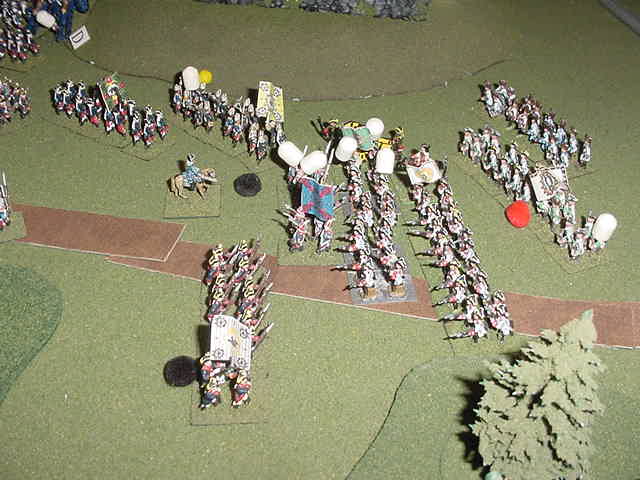
 The Prussians attempt to punch through the Austrian left one last time. The Austrians were begining to give way, but held on til nightfall. The battle was over. The Prussians would be forced to retreat back across the river and the Austrians would now be able to link up with the Russians.
|
|
|
|
|